This was the first piñata I have made that wasn’t for one of my children. A friend of mine asked if I could make a mermaid tail piñata…so I gave it a try. She LOVED it (Yay!!)! First, as always, I did some Pinterest searching and decided on what shapes and designs I liked.
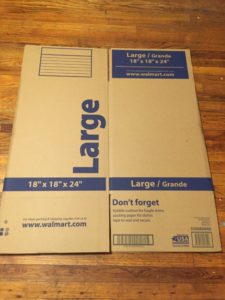
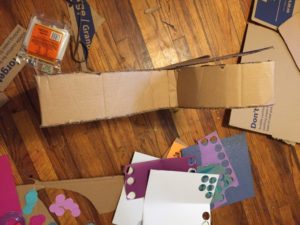
I started with a box, freehanded the rough shape of a mermaid tail. When I was happy with it, I used my X-acto blade to cut it out. Then I used the cut shape to trace the second half. You also need two long strips of cardboard, roughly the same width all the way down, for the sides of the piñata. After it is all cut, you can start hot gluing the strips to the mermaid tail shape.
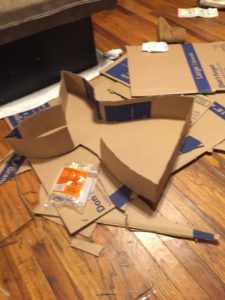
I add a LOT of glue, because when you put all that candy in it, you don’t want it to rip. And it makes it harder for the kids to destroy ;-). Make sure you leave one side on the top open, to fill with candy. When done, it should look something like this.
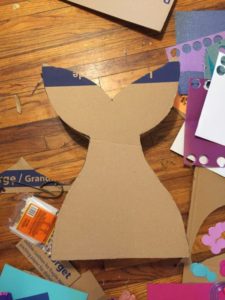
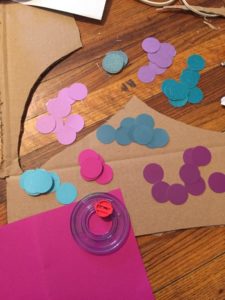
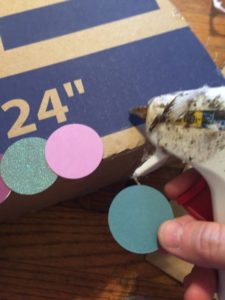
Now comes the tedious part. I used a circle cutter with a blade, but I think a circle puncher would have made this process so much faster. I chose 8 different colors of papers I already had handy. A tiny dot of hot glue was enough to hold each circle to the box.
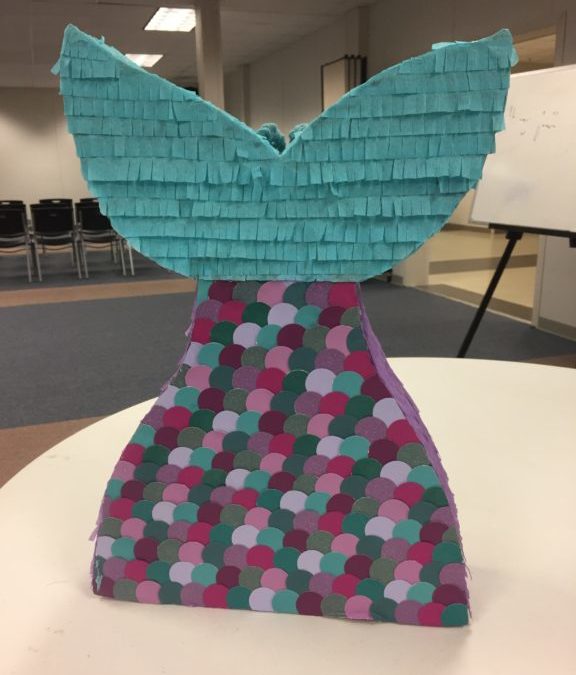
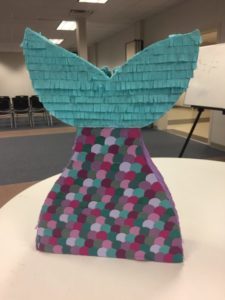
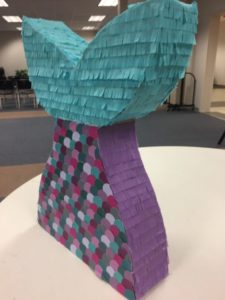
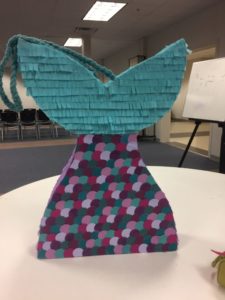
Before you seal the piñata all the way, make sure you reinforce the top. I always glue an extra strip or two of card board wherever I will hang the pinata from and make two holes to insert the string into. I tie the ends of the string together on the inside, THEN you can add the candy seal the piñata up. I forgot to take a picture of adding the crepe paper, but it is pretty simple. You just have to cut little slits on one side of the crepe paper and then glue it around the cardboard, overlapping a little. This is the finished product!
Very well written. Can you let me know what size the circles were that you used?
Which is easier for the circles? Cricut or a Circle Punch?
You are such an inspiration! Thank you for posting this. It inspired me to make one for my niece’s Mermaid Party.
Quick question… you hot glued the cardboard pieces together? You didnt use tape? I’m asking because I’ve seen others use tape and thinking.. how in the world did it stay together with just tape? Especially after they put the candy in it and hung it. ??
Thank you!! 💙
Thank you! I always hot glue my piñatas, so far it has really worked well for us. I have never tried just taping it, I think I would worry that it would break too easy too.
Very well written story. It will be useful to anyone who usess it, including yours truly :). Keep doing what you are doing – for sure i will check out more posts.
Thank you!
I did LOVE it!!! You have amazing talent!
Thank you!