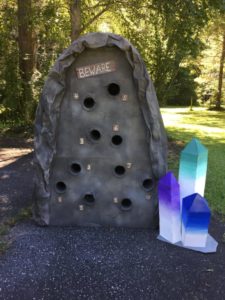
This was one of those projects that spiraled out of control. Initially, I was using one box to build this cave, but ended up with three. The end result is fantastic, but now I have a giant cave in my living room. We built this as a party game for a Troll Hunters party, but we are planning to use it multiple times during fall festival and Halloween events.
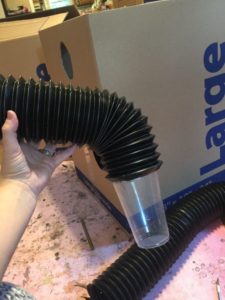
It started with three plain boxes and 12 feet of drainage pipe (I found it in the garden section at the local hardware store). The drainage pipe was bendable and perfect for kid sized arms.
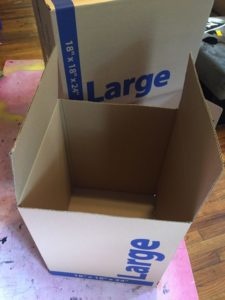
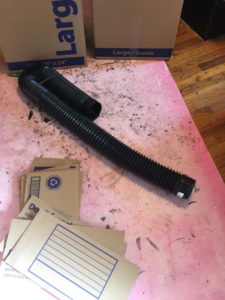
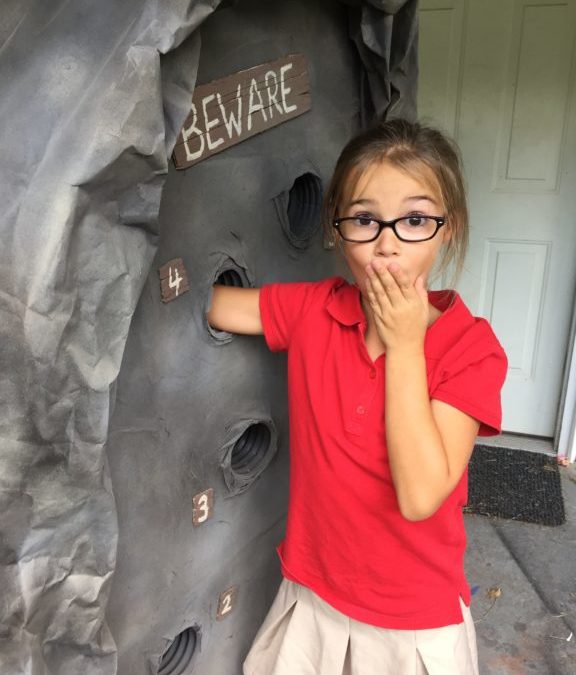
Next, I cut the pipe roughly the length of my 8 year olds arm, and made holes for pipes on one side of the boxes.
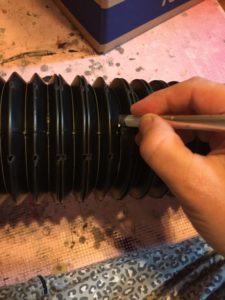
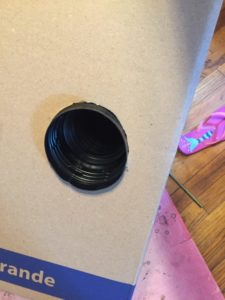
Now, this next part was very time consuming. Sealing off each pipe, either by making it run into the wall of the cardboard box, or by adding cups to the end of the pipe. I needed something similar to plastic, that would be durable and that I could use to put slime and yucky things in. I built a structure on the inside of the boxes (with cardboard) to support the pipes, so they would not be flimsy and fall apart the first time we used it. Then I carefully hot glued them into place. Just for fun, I left one hole open and later cut the back of the box, so that you could reach all the way through it. We had someone at the back of the boxes to grab their hands (they loved this).
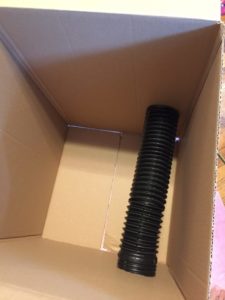
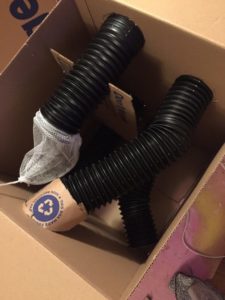
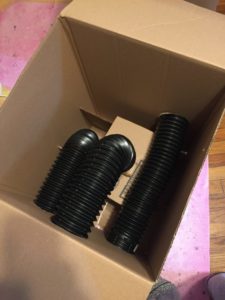
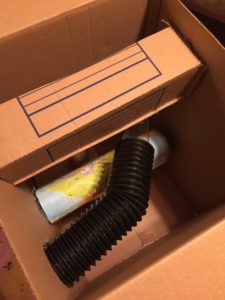
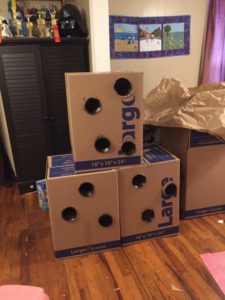
After building the inside, I glued all the boxes together and it looked like this.
I failed to get a picture of the next step, but I cut out MORE pieces of cardboard to finish the shape to make something that resembled the entrance to a cave. Thanks to some Pinterest research, we found that packing paper is perfect for making cave walls. This was pretty easy, we just draped it over and glued it into place with hot glue. Now, since it was turning out to look so good, and has taken so much effort, we decided to go ahead and paper machet it. That would give it a rough texture and would cover all the seems. AND it would make it much more durable.
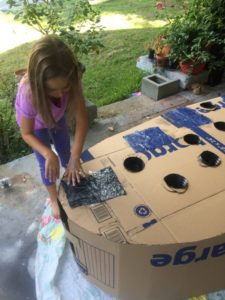
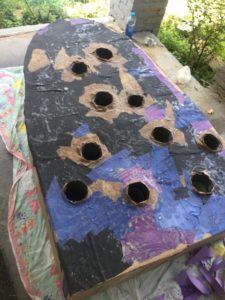
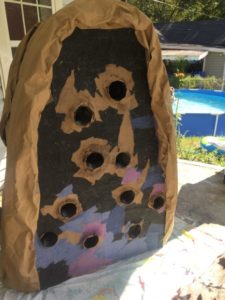
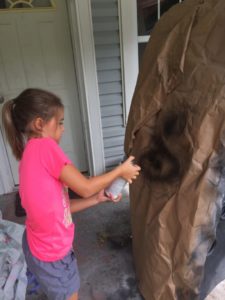
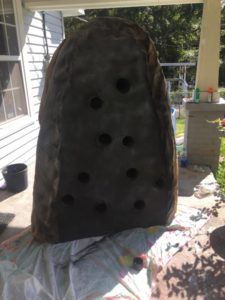
We just used what construction paper we had. I made sure to put extra paper around the pipes, to make it look like they were part of our cave wall. Then we spray painted it. LOTS of spray paint. This thing was huge and had so many little angles.
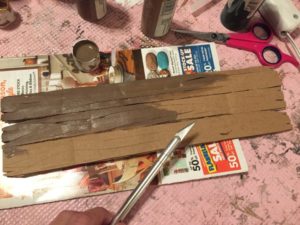
To label the holes (for the game we were using it for, the kids had to guess what was in each hole) I just used little cardboard pieces. Scraping them with an exacto blade,and painting them brown, they looked like old distressed wood.
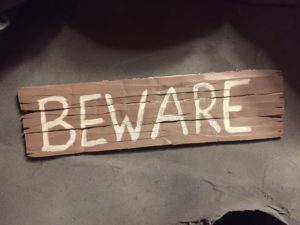
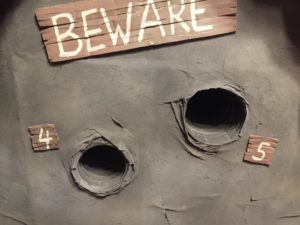
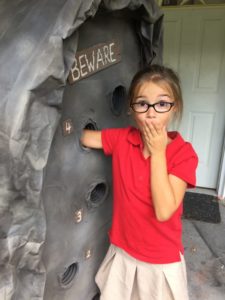
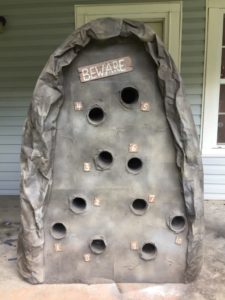
It took a lot of effort, and now I have a giant cave sitting in my living room (we have nowhere to put it), but it was worth it. We used it for a birthday party, and the kids LOVED it. Here is the finished cave. We also made crystals to go next to the cave, but that is covered in another post.

I found your tutorial after a general search of ‘cardboard caves’. I love that you made this-it reminded me of projects I enjoy making for my kids. Though I never post any of my finished projects online-I really appreciate people who take the extra time to do so! And your instructions and photos have given me some great ideas-like the slashing of the cardboard pieces to make the “Beware” and number labels-that’s such an awesome idea! I love all those small detailed things that make projects come together. Thank you so much for posting this and for taking the time to make it!