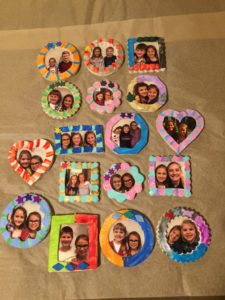
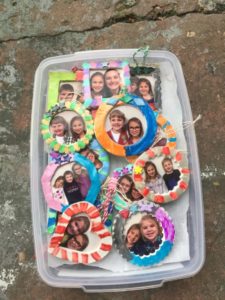
Each year my children make ornaments for their friends, and each year I think they are my favorite yet. I love these so much, I am not sure they are going to be able to top them next year. These are sweet and personal, and pretty easy to make.
This post contains affiliate links.
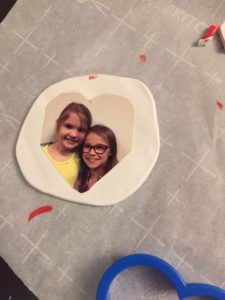
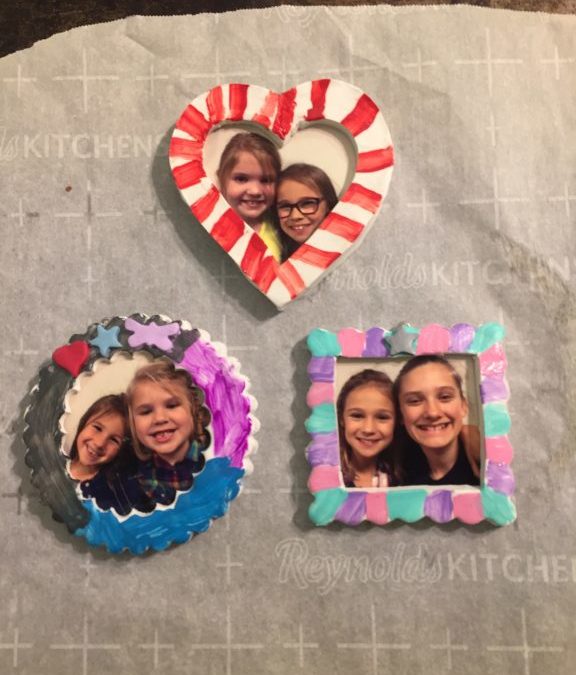
The first step is to take pictures with all of their friends. Which, can be quite tedious if you have 3 children and lots of friends. I printed them I wallet size, and we were ready to start. To start with, I buy a big piece of white clay. The best way to do this is with a coupon at a craft store – but this is the clay I used – Polyform Sculpey Original Polymer Clay, 1.75-Pound, White). I roll it out how thick I want it, then I let my girls pick what shape they wanted. The example below is heart, but they picked every shape imaginable. Then, I used my x-acto blade (X-ACTO 1 Knife, Z Series With Safety Cap
) to cut out the middle, leaving a good frame shape around the outside.


Next, the girls got to decorate their frames. I found it easiest to let them paint the unbaked clay so they would not paint on the picture.


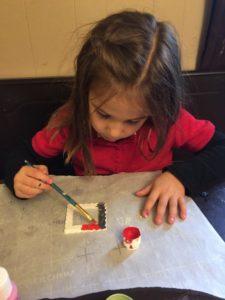
While they were painting, I made a thicker piece of clay about the same size, and placed the cut picture on top of it. Make sure to push the picture firmly on top, so that there is no air under the picture. After they finished painting, I took the frame and placed it on top of the picture and re-cut the heart shape.

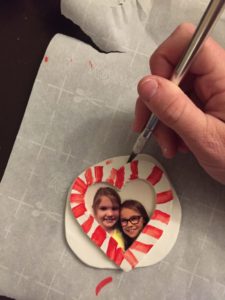
On some ornaments, they added extra little clay pieces. We have some tiny cookie cutter, and those worked great for this. Here is another of a painted frame, this one with little extra decorations of clay.


After it is all decorated, very gently (remember it is still not baked) smooth the two pieces together around the outside. When done, it should be one solid piece. Add your ornament hoods, and then they are ready to bake. And YES, I baked the picture and all. I baked it lower than the instructions for the clay said, but I didn’t want to burn the pictures. I baked it at 200 degrees, and it turned out great. I sealed them and added strings, then they were ready to pass out! They were a huge hit with their friends.

How long did you bake them for? And what type of paints did you use? And what did u use to seal them? And did u seal the picture too?
Youre so cool! I dont suppose Ive read anything like this before. So nice to find somebody with some original thoughts on this subject. realy thank you for starting this up. this website is something that is needed on the web, someone with a little originality. useful job for bringing something new to the internet!
Thank you! When I decided to try this, I thought for sure I was going to set the picture on fire in my oven, LOL! I was glad it worked so well.