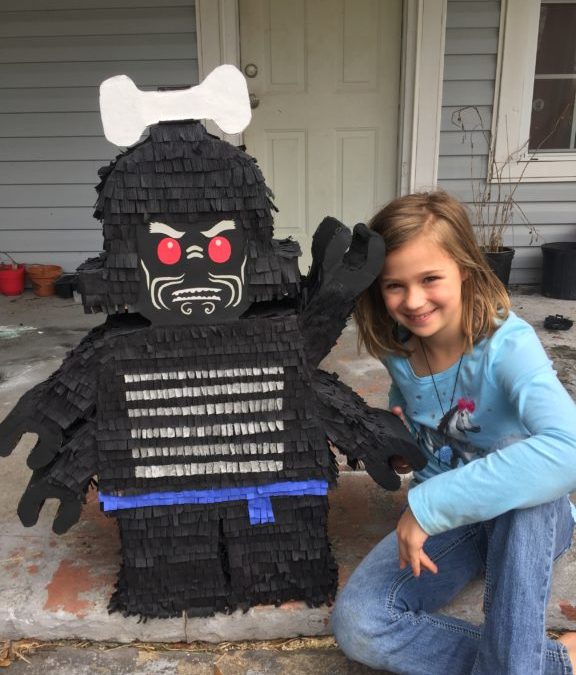
My oldest daughter wanted to have a Ninjago birthday party. When we started looking for a piñata we were a little disappointed with the selection (and the prices), so we decided to make our own. Our total cost – 2 dollars (yes, really). Now, if you don’t have a bunch of cardboard and glue laying around, it may cost a little more. We could not find any patterns or instructions, so we just made things up as we went. Somehow it worked out great in the end.
First, we traced the shape of our piñata onto a big piece of cardboard. After a lot of erasing, I was finally happy with the shape. I let my oldest daughter trace the second piece, using my first cut out.
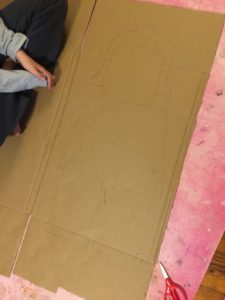
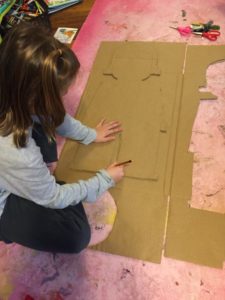
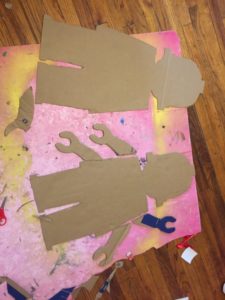
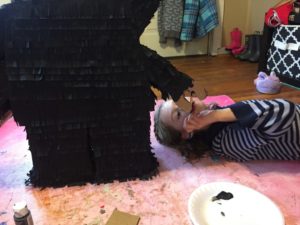
After finishing the shapes, it was time to cut the middle piece that will connect the piñata. I made mine roughly three to four inches thick. It made room for LOTS of candy in the end. This was probably my least favorite part. I chose to hot glue all the pieces and sides together and it took forever. Many hot glue sticks later, it was finally finished. I left a little piece of the head unglued so that we could fill the piñata with candy.
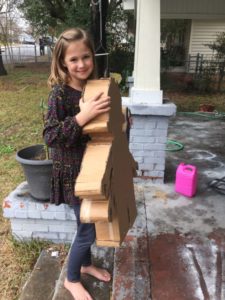
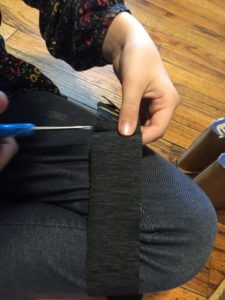
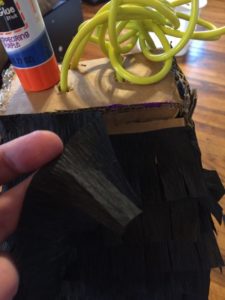
Next, we bought some black party streamers (crepe paper) and cut one side into strips. This is where my daughters help was very much appreciated. She cut the paper and I glued it on. I did it row by row, it was time consuming but pretty simple (those four arms gave me a HARD time).
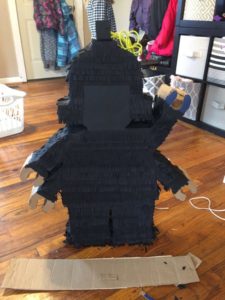
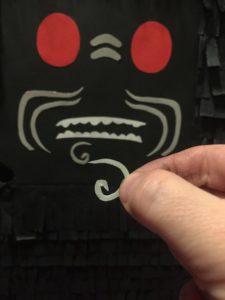
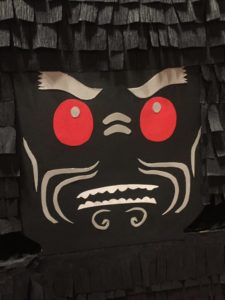
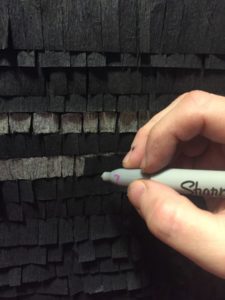
For the face, I used construction paper. Using a picture of lord Garmadon, I tried my best to copy his face and then cut out the little pieces and glued them on. Now we were almost done. My oldest painted the hands, and I used a permanent marker to make his “vest” and a blue napkin to make the belt.
That was pretty much it! We attached a cable, stuffed it with candy and TA-DA!! We had our piñata!
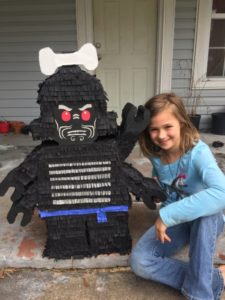

This is amazing,I am making it for my son’s 8th birthday! Did you have the kids bash it open or how does it work?
Hey! I’m lovin this so much!! Did you use a silver sharpie for his vest??
Yes, it is silver sharpie. Thank you!