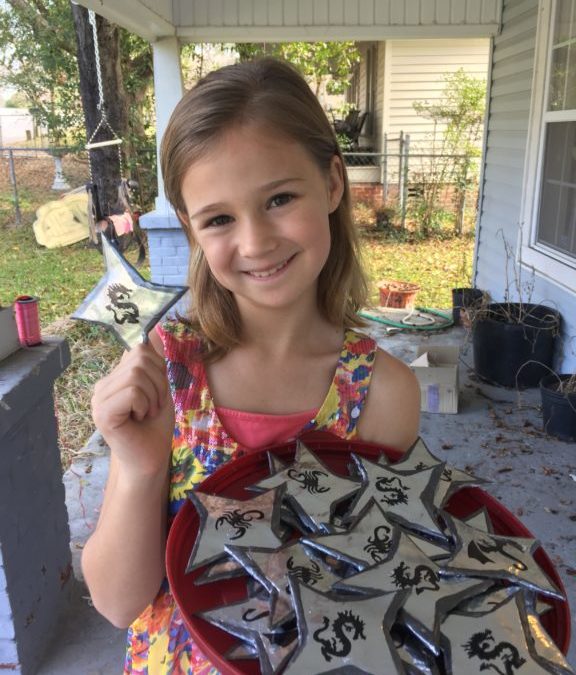
Let me say to start with, I had no Idea if this was really going to work (that is pretty much the case most of the time!). The goal was to make kid friendly ninja stars that would actually be able to pop balloons. We were so excited, because they worked GREAT! The first step was to make a bunch of stars by following an origami pattern. There are many to choose from, but we liked the simple ones. My mom was nice enough to make them for me, which saved me some time.

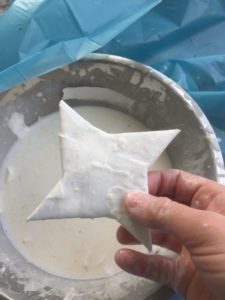
This next part was pretty tedious. I decided to paper mache them, to make them hard enough to throw at balloons. It took quite some time to make sure that the corners were still sharp enough (which is a challenge with soggy paper). This did take a few hours, even with help from my oldest.
After I finished coating it all with the paper mache, I decided to add one more step. I wanted it smooth, so that it would look like a real ninja star. To make it seem like it was all one piece, I cut a star shape just slightly smaller than the ninja star, dipped it in the glue and stuck on the top side. This actually made it look much better, because the slightly smaller size made it look like it had actual blades. Unfortunately, I did not take a picture with the added star piece of paper, but you can really see it in the final result.
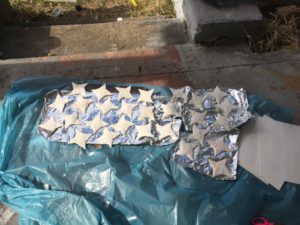
After they were all dry, it was time to spray paint. If you really cared about it being perfectly smooth, you can always sand it down a little. We were giving these to kids to throw, so there was no point. My kids really enjoy helping with crafts as much as they can, and the oldest (it was her party) spray painted them a shiny metal color. I actually thought they were a little too shiny, so that is why we came up with the next step.

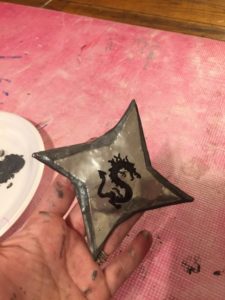
Since they were so shiny and a little plain, I decided we should put some kind of ninja related writing on them. But, when I googled ideas along that line, it was a little too complicated for 20 something stars. Then, I remembered we had some stencils. Dragon and scorpion stencils! We don’t get rid of much, and these were from YEARS ago. They were perfect for the ninja stars. This is where my oldest was a LOT of help.
We stuck the stencils on the stars and started to trace the designs. We quickly figured out that permanent marker wasn’t writing on the shiny metal paint. Luckily I had an old paint marker, and that worked great. So my daughter traced it with the permanent marker (it worked very lightly), and I went over it with the paint marker.

We also decided to make the edges (this is where you can really tell that the top piece was slightly smaller) darker than the star. I used acrylic paint for the edges. It took SEVERAL coats, but it was worth it.
The stars were a great hit, and it worked exactly the way I had hoped. To make the balloons more likely to pop, we used water balloons. The kids kept getting back in line until there was no balloons left!

