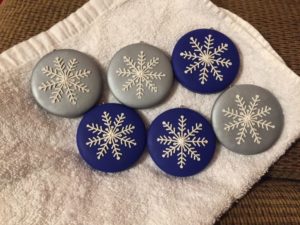
These Ornaments and color combinations are some of my favorite. I tried to take some pictures along the way to better illustrate how to make these. I have another post of similar snowflakes, but hopefully this one will give more detailed steps.
This post contains affiliate links
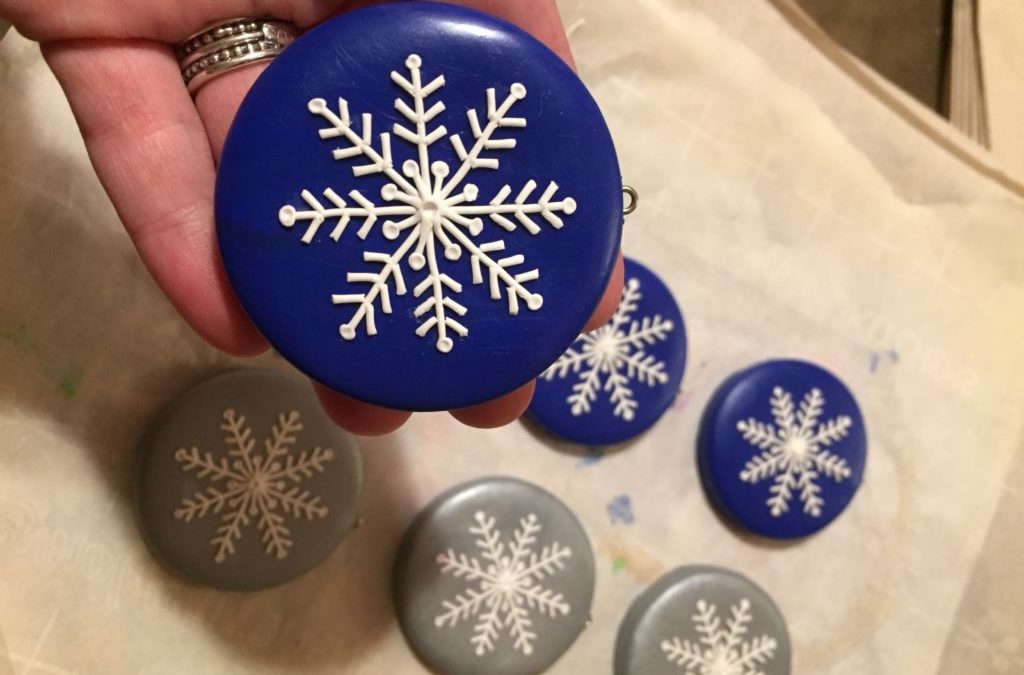
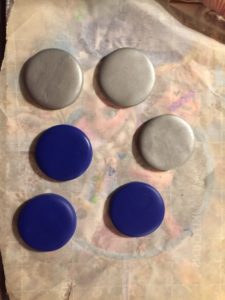
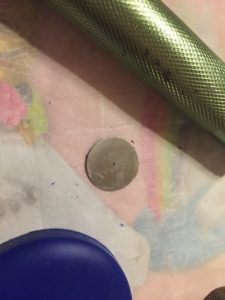
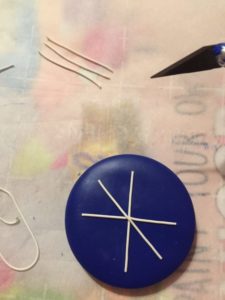
First, you pick whatever colors you choose. My favorite combo is the blue and white. After you flatten them to whatever thickness you want, use a cookie cutter to make the shapes.
The tedious part about these ornaments is all of the little white pieces. I use an extruder (COMIART Clay Gun Extruder with 20 Unique Disc Designs, Professional Tools for Clay Pottery Sculpture & Polymer Modeling & Ceramic Craft & Fondant Cake (Big Size). I love this thing and it makes it soooo much easier, since it gives you nice even strings of clay. I used the smallest disk for these ornaments.
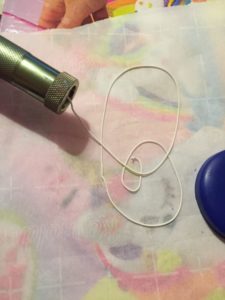
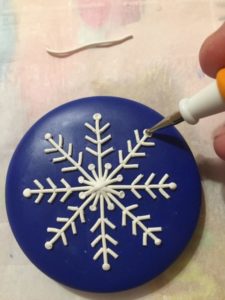
Then I cut them to size and place the strips onto the ornament. I use my X-acto blade (X-ACTO 1 Knife, Z Series With Safety Cap) instead of clay tools, it just works better for me (at least for these tiny pieces). I make four long strands and four short ones, layering them to cross over each other in the middle.
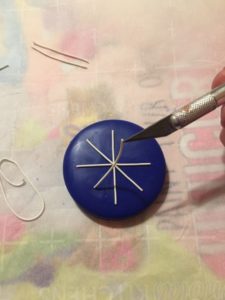

I like to place little dots on the ends, it just makes it look nicer to me. After placing them, I use a dotting tool (COMIART Ball Styluses Dotting Tool Set for Embossing Pattern Clay Sculpting,Nail Art) to sort of squish them down.

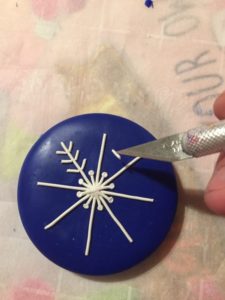
Now comes all the little pieces. LOTS tiny little clay pieces. You could add as many as you want, I added three to each side. After all the little pieces are placed, I added more dots and pressed them down onto the ornament.
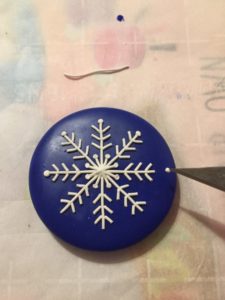
I did press them down with my finger before baking, just slightly. Not all clay bakes at the same temperature, so make sure you follow the instructions on the pack you bought. Be careful though, if you overbake these, they white turns a little yellow-ish.


Hi, Melanie! I love these snowflake ornaments! Could you tell us what you used to hang the ornament? What is that little ring I see in the photo? Did you use an eye pin? Did you insert it before baking the clay? or glue it on the back later? I’m new to polymer clay! Thanks very much!
Yes, it is a little screw eye pin. I do place them in before I bake them. I push them in just far enough to where I can cover the bottom part of the opening with just a little bit of clay. I have not had any issues of them falling out.